
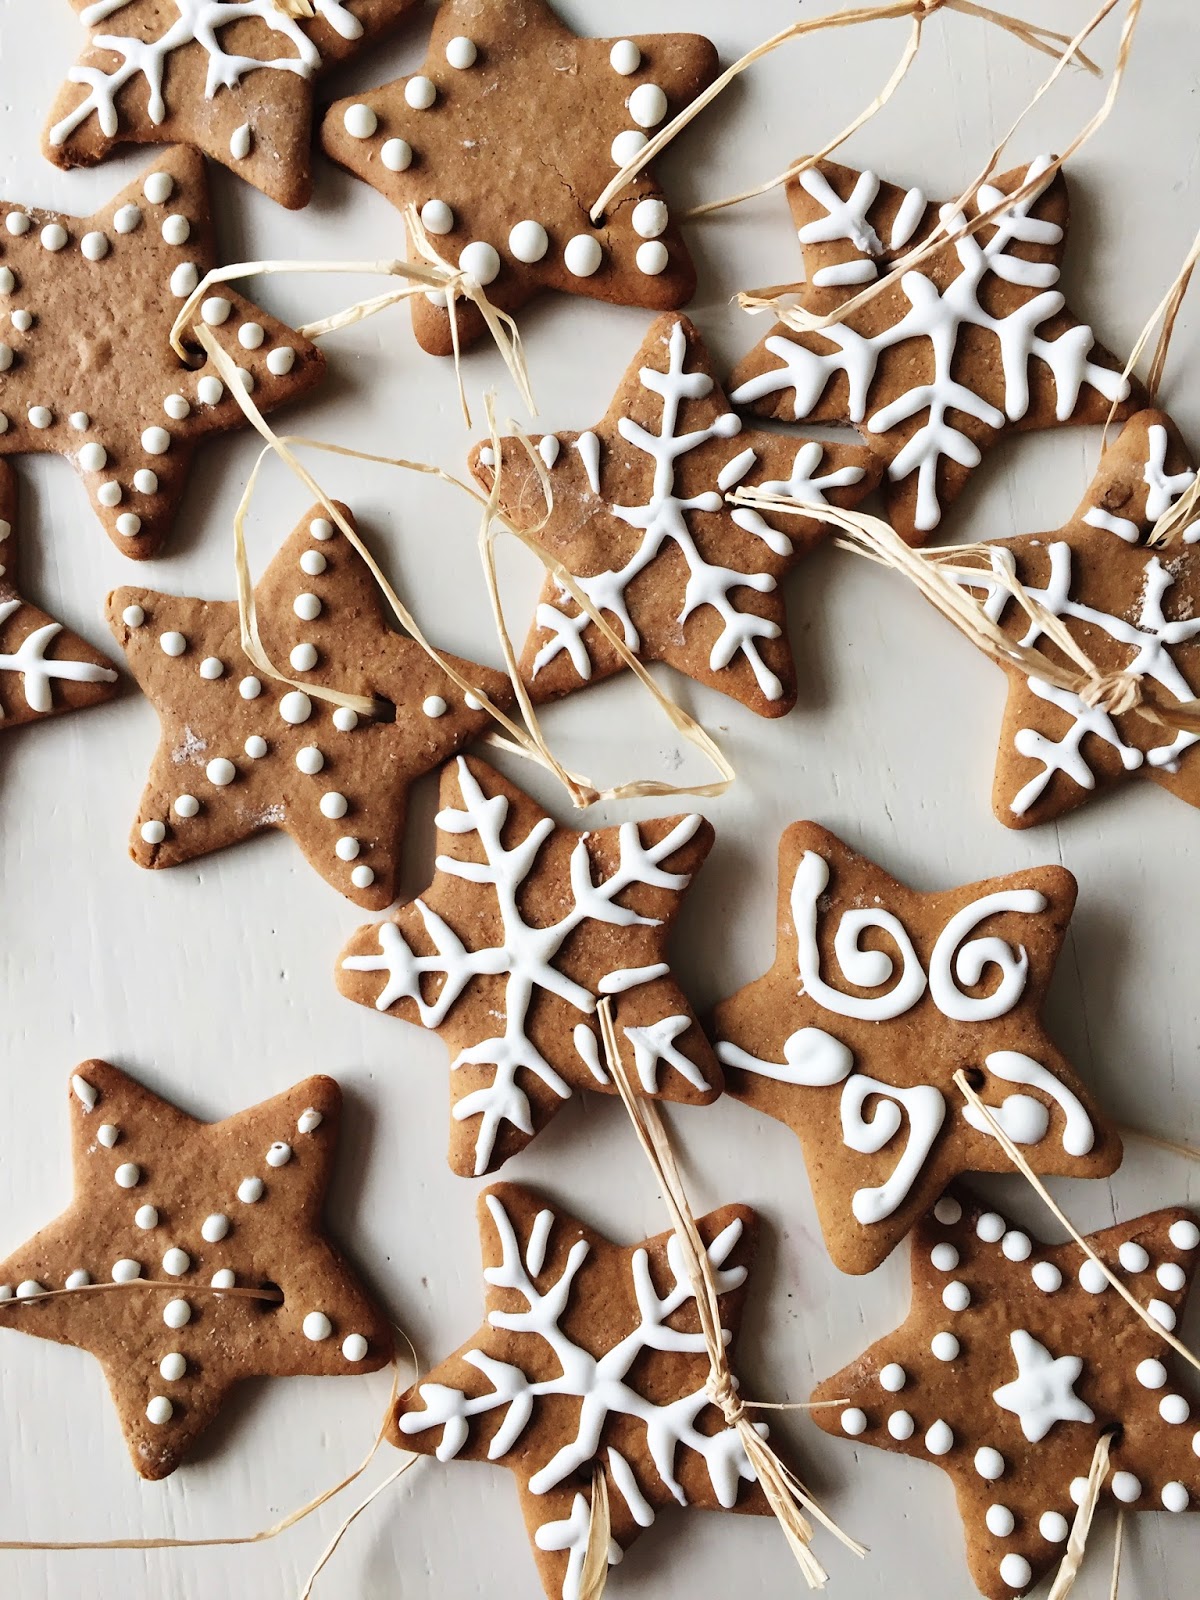
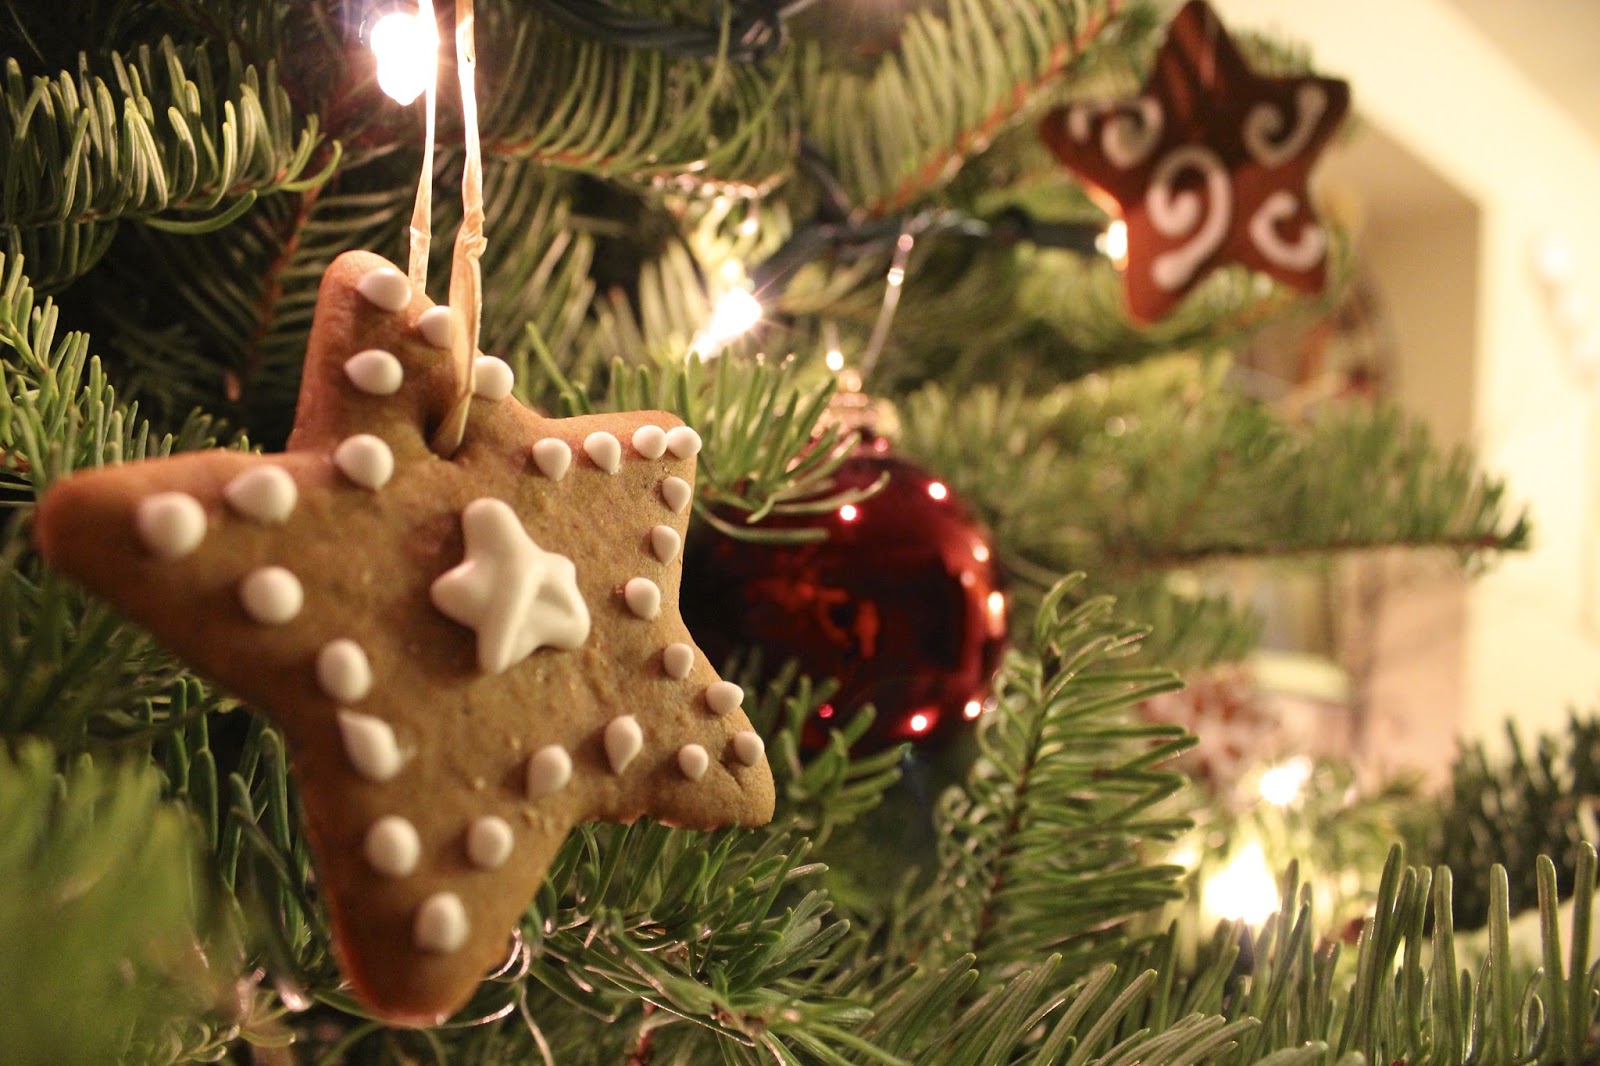
I'd never thought of baking cookies to decorate my Christmas tree with but once I finished up my tree trimming and noticed that it was pretty bare looking I scoured the Intraweb for recipes of gingerbread ornaments. They turned out beautifully and have held up for 3 years. The best part of making these little gems is the time you get to spend with family (sounds like a cheesy Hallmark movie, but the more helping hands the quicker these puppies will be done). After 3 years of using these ornaments I need to coat them with a thin layer of Modge Podge so the icing will not crack off. Get creative with your design, I loved the more simple and clean design, maybe that's was because I didn't want to mess up the cookie.
Here a few tips on making the cookies:
1. Don't forget to cut out a small hole in each ornament before baking the cookies so you have somewhere to tie them to your tree!
2. Make 2 batches of icing: one looser than the other. Use the firmer icing to trace out the contours of the ornaments, and the more fluid one to fill them.
3. If you want to correct a line made with icing, do it fast because the icing dries quite quickly.
2. Make 2 batches of icing: one looser than the other. Use the firmer icing to trace out the contours of the ornaments, and the more fluid one to fill them.
3. If you want to correct a line made with icing, do it fast because the icing dries quite quickly.



Makes about 24 large cookies, depending on the size cutter used (Source)
5 cups all-purpose flour (spoon flour into dry-measure cup and level off)
4 teaspoons ground ginger
1 tablespoon ground cinnamon
1 teaspoon freshly grated nutmeg
1/2 teaspoon ground cloves
1 teaspoon salt
1/2 teaspoon baking soda
16 tablespoons (2 sticks) unsalted butter, softened
2/3 cup firmly packed dark brown sugar
2 large eggs
2/3 cup molasses
2 cookie sheets or jelly roll pans lined with parchment or foil
4 teaspoons ground ginger
1 tablespoon ground cinnamon
1 teaspoon freshly grated nutmeg
1/2 teaspoon ground cloves
1 teaspoon salt
1/2 teaspoon baking soda
16 tablespoons (2 sticks) unsalted butter, softened
2/3 cup firmly packed dark brown sugar
2 large eggs
2/3 cup molasses
2 cookie sheets or jelly roll pans lined with parchment or foil
In a large bowl, combine the flour, spices, salt and baking soda. Stir well to mix.
Place the butter and brown sugar in the bowl of a standing electric mixer fitted with the paddle attachment and beat on medium speed until well mixed, about 1 minute. Beat in the eggs, one at a time, beating smooth after each addition. Scrape down bowl and beater.
Lower speed and beat in about half the flour mixture. Beat in all the molasses then scrape bowl and beater. Add the remaining flour mixture, about 1 cup at a time, and beat after each addition until it has all been absorbed.
Remove the bowl from the mixer and give the dough a final mixing with a large rubber spatula. Scrape half the dough onto a large piece of plastic wrap and press it to about a 1/2-inch thickness. Wrap the dough securely and repeat with the remaining dough. Chill the dough for at least 2 hours or for up to 3 days.
When you are ready to bake the cookies, set racks in the upper and lower thirds of the oven and preheat to 350 degrees.
Unwrap one of the pieces of dough and cut it in half. Rewrap one of the halves and return it to the refrigerator.
On a floured surface, roll the dough until it is about 1/4-inch thick. Use a floured cookie cutter to cut the cookies. As they are cut, place the cut cookies on the prepared pans with about 1 inch between them on all sides. Repeat with remaining dough. Save, press together, and reroll scraps (they don't need to be chilled before rerolling).
Bake the cookies until they become dull and dry looking and feel slightly firm when pressed with a fingertip, about 12 to 15 minutes. Be careful not to over-bake the cookies or they will be very dry. Slide papers from pans onto racks to cool.
Store the cooled cookies between sheets of parchment or wax paper in a tin or plastic container with a tight-fitting cover.
Martha Stewart's Royal Icing
(Source)
(Source)
1 pound of confectioners' sugar
2 large egg whites
2 large egg whites
In the bowl of an electric mixer fitted with the paddle attachment, combine the sugar and egg whites.
Mixing on low speed, add up to 1/2 cup water depending on the desired consistency. Mix until icing holds a ribbon-like trail on the surface of the mixture for 5 seconds when you raise the paddle.
Place the icing in different piping bags with a small tip for tracing the contours and a larger one for filling each shape.
Good Luck!!! And Happy Baking!
Follow Us On IG: @MegynJordyn


